Word Dental Receipt: The step-by-step guide to creating a professional receipt with ease
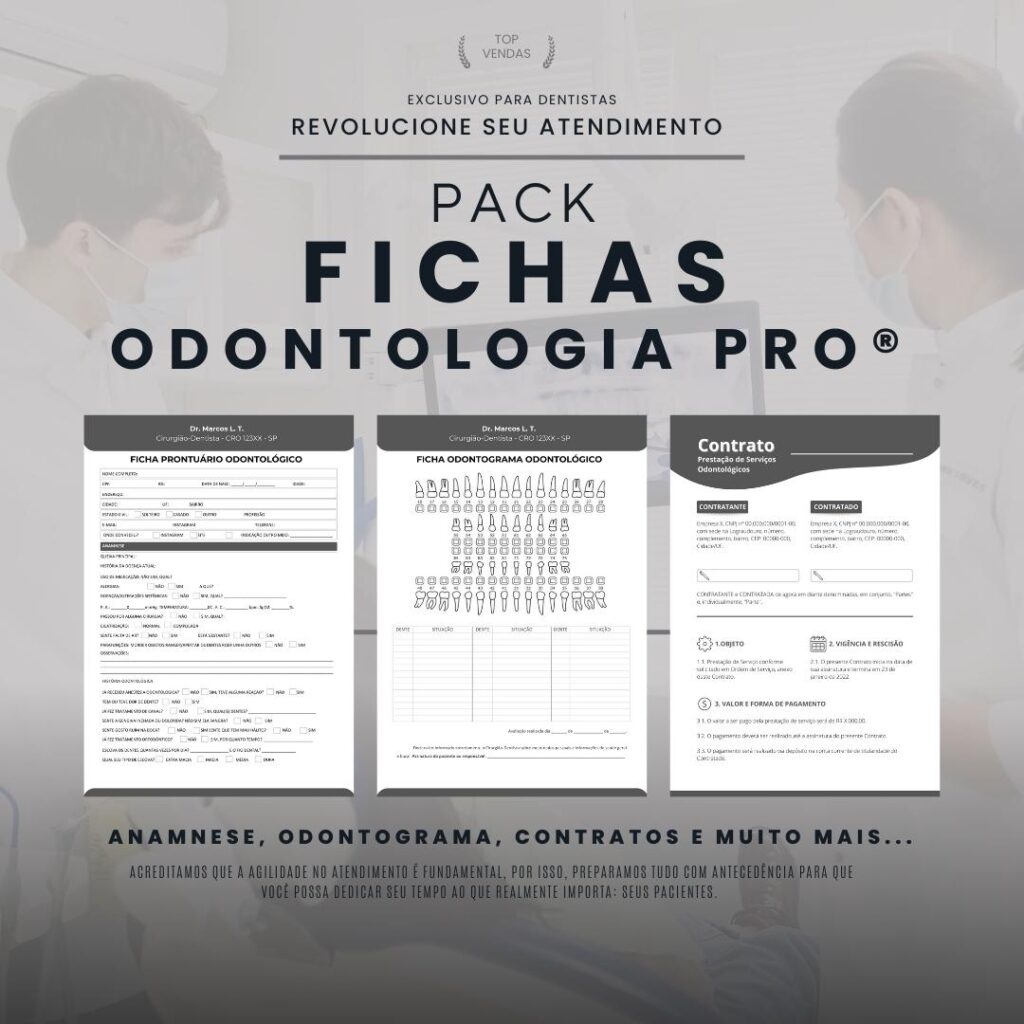
When it comes to a dental receipt, organization and professionality are essential. Creating a well-structured and easy-to-understand receipt can help with accountability to patients, as well as being a way of recording and proving the services provided.
Why use Word to create a dental receipt?
Microsoft Word is a widely used application known to most people. Its user-friendly interface and intuitive features make it an excellent option for creating documents, including dental receipts.
When using Word, you have the freedom to customize the receipt according to your specific needs, adding your logo, contact information and any other information relevant to your clinic's visual identity.
Step by step to create a dental receipt in Word
Step 1: Open Microsoft Word
Start Microsoft Word on your computer. If you don't have Word installed, you can download and install the latest version from the official Microsoft website.
Step 2: Create a new document
Click “File” or the Office icon, depending on the version of Word you are using. Then click “New” to create a new blank document.
Step 3: Add basic information
At the top of the receipt, enter your basic information such as your clinic's name, address, and phone number. This will help identify the origin of the receipt and make it easier to contact your clinic if necessary.
Step 4: Insert your clinic logo
If you have a logo for your clinic, place it in the top left or right corner of the receipt. This will help reinforce your clinic's visual identity and convey a professional image.
Step 5: Add patient information
Just below your information, add the patient's information, such as the patient's full name, date of birth, insurance number (if applicable), and address. This information is important to identify the recipient of the receipt and help with accountability.
Step 6: Describe the services provided
Include a section to clearly and in detail describe the dental services provided. Describe each service separately, including the procedure performed, the date and the amount charged for each service.
Use transition words, such as “first”, “then” and “finally”, to make reading the receipt more fluid and understandable.
Step 7: Calculate and add the total amount to be paid
At the end of the receipt, calculate and add the total amount to be paid by the patient. Be sure to include any discounts or additional fees if applicable. Provide clear instructions on accepted payment methods and where payment should be made.
Step 8: Review and save the receipt
Review the entire receipt to ensure all information is correct and complete. Make any necessary changes, if any, and save the document on your computer or print a physical copy to give to the patient.
Now that you have the step-by-step guide to creating a professional dental receipt in Word, you can customize it according to your clinic's needs. Remember to keep your receipt organized and easy to understand, to make it easier to report to your patients and also to document the services provided.
Creating a dental receipt in Word is an effective way to maintain standardization and professionalism in your clinic, as well as offering quality and transparent care to your patients.


