- Introduction 1.1. The importance of muscle relaxants 1.2. Autodesk Meshmixer software
- How to download and install Autodesk Meshmixer 2.1. System Requirements 2.2. Download and installation
- Meshmixer Interface 3.1. Basic tools 3.2. Navigation and visualization
- 3D model import 4.1. Supported formats 4.2. Import and placement
- Myorelaxing plate sculpture 5.1. Area selection 5.2. Addition of material 5.3. Modeling and smoothing
- 3D model export 6.1. Export formats 6.2. Advanced Settings
- 3D printing of the muscle relaxant plate 7.1. Preparation for printing 7.2. choice of material
- Tips for improving model quality 8.1. Surface refinement 8.2. error checking
- Conclusion
- Common questions
1. Introduction
1.1. The importance of muscle relaxants
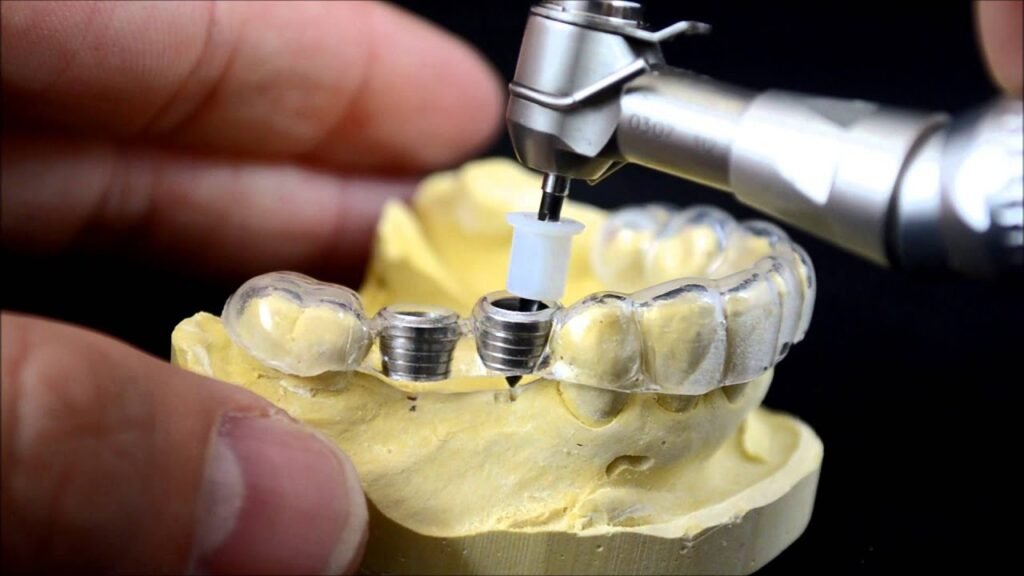
Myorelaxing splints are custom-made orthodontic devices that help relieve muscle tension and pain associated with bruxism, TMJ and other dental problems. In this article, we are going to show you how to create a myorelaxing plate in Autodesk Meshmixer for Dentistry software, a powerful and versatile tool for 3D modeling and printing.
1.2. Autodesk Meshmixer Software for Dentistry
Autodesk Meshmixer is free software for working with 3D models, which allows you to quickly and efficiently manipulate, edit and sculpt virtual objects. In addition, it is a useful tool for preparing models for 3D printing, ensuring the quality and accuracy of the parts.
2. How to Download and Install Autodesk Meshmixer for Dentistry
2.1. system requirements
To use Autodesk Meshmixer, you need to verify that your computer meets the minimum system requirements. The software is compatible with Windows and macOS, and requirements vary depending on the operating system version.
2.2. Download and installation
Go to Autodesk official website to download the latest version of Meshmixer. Follow the provided instructions to install the software on your computer. After installation, launch the program and familiarize yourself with the interface.
3. Meshmixer Interface
3.1. basic tools
Meshmixer's interface consists of a 3D viewport, tool panels, and menus. Some of the most important tools are:
- Select: Allows you to select specific areas of the 3D model.
- sculpture: Lets you sculpt and adjust model geometry.
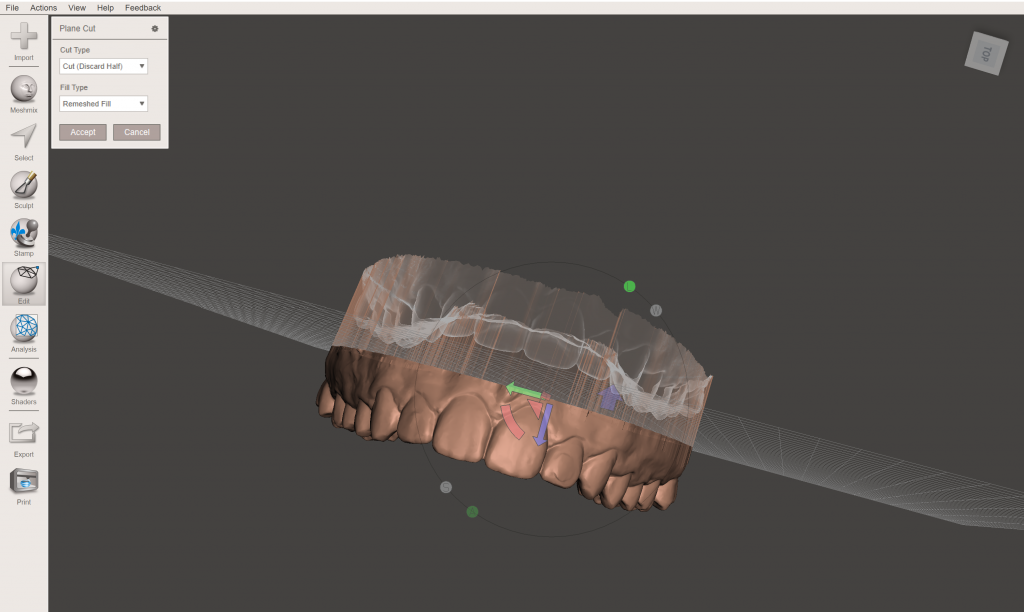
- Edit: Provides advanced editing options such as cutting, splitting, and combining objects.
- Analysis: Provides information about the quality and feasibility of the model for 3D printing.
3.2. Navigation and visualization
To navigate and view the 3D model, you can use your mouse and keyboard. The left mouse button allows you to rotate the model, the right mouse button allows you to move the model and the mouse wheel allows you to zoom.
4. Importing the 3D model
4.1. supported formats
Meshmixer supports a wide variety of file formats including STL, OBJ and PLY. To import a 3D model, go to the “File” menu and select “Import”.
4.2. Import and placement
After importing the model, position it in the preview window as needed. It is important to ensure that the model is correctly aligned before starting to sculpt the muscle relaxer plate.
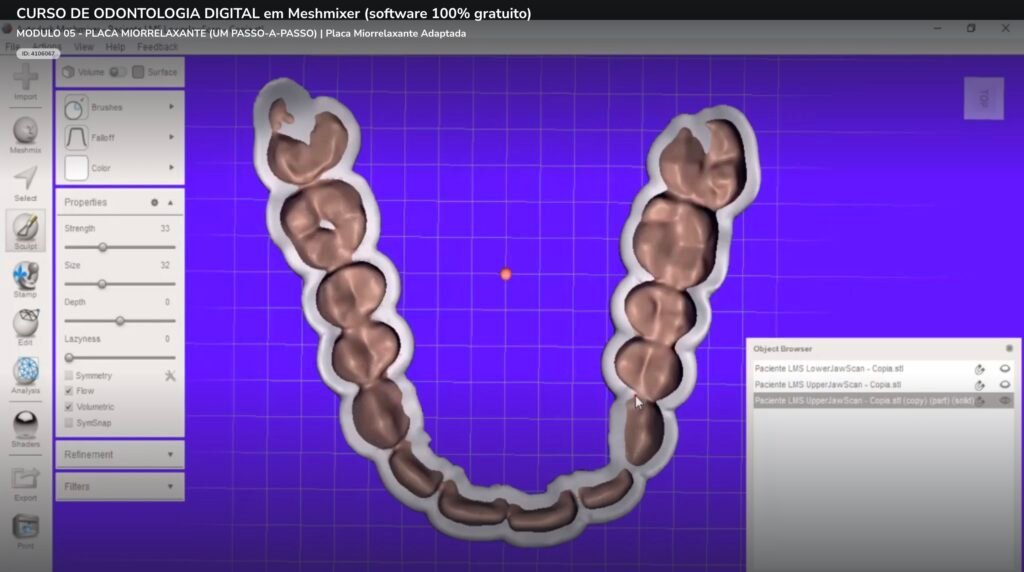
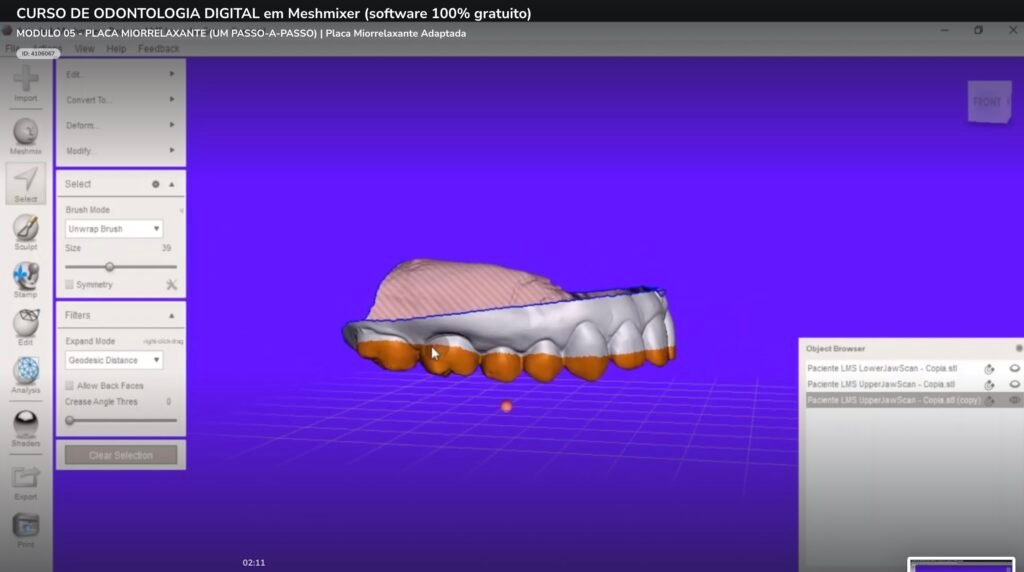
5. Myorelaxing plate sculpting
5.1. area selection
Use the “Select” tool to select the area where the muscle relaxer plate will be sculpted. Adjust the selection as needed to get the desired shape and size.
5.2. addition of material
With the area selected, use the “Sculpt” tool to add material to the model and create the muscle relaxer plate. It is possible to adjust the intensity and size of the sculpture, ensuring that the plate adapts perfectly to the selected area.
5.3. Modeling and smoothing
After adding enough material, use the “Smooth” tool to smooth the surface of the muscle relaxer plate and ensure a snug fit. Continue sculpting and smoothing until you have the ideal shape.
5.3. Modeling and smoothing
Refine the shape of the muscle relaxer plate using sculpting options such as “Smooth” and “Flatten”. Remember to check the fit of the plate on your teeth and make any necessary changes to ensure maximum comfort and effectiveness.
6. 3D model export
6.1. export formats
After modeling the muscle relaxer plate, it is necessary to export it to a format compatible with 3D printers. Meshmixer supports export in STL, OBJ and other formats.

6.2. Advanced Settings
Before exporting, check the advanced settings to ensure the best possible quality. Adjust the resolution and plate thickness if necessary and check the model for errors.
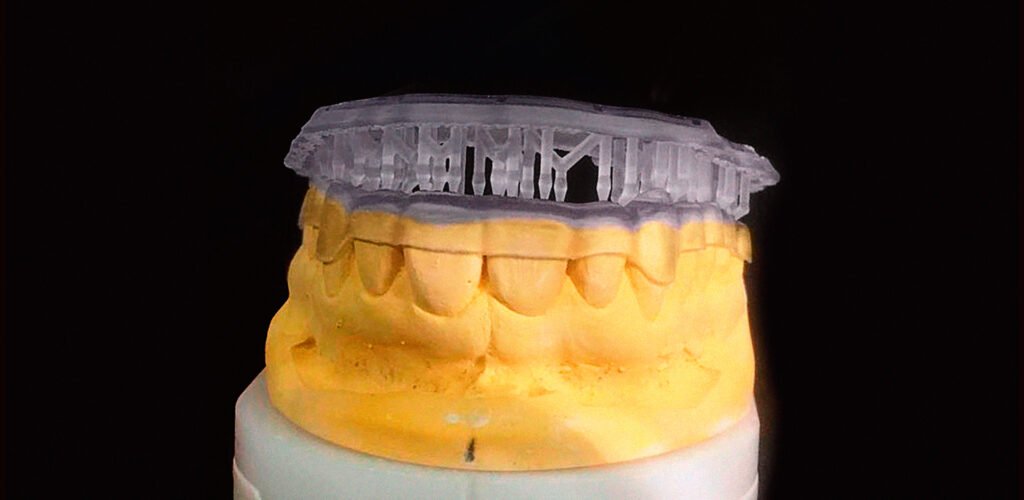
7. 3D printing of the muscle relaxant plate
7.1. print preparation
With the model exported, use your preferred slicing software to prepare the file for 3D printing. Adjust print settings such as speed, temperature and media according to the material and 3D printer used.
7.2. choice of material
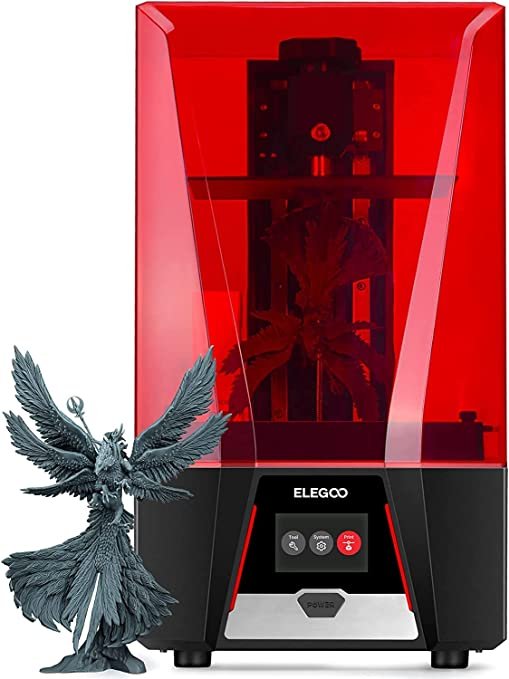
Choosing the right material is crucial for the success of the muscle relaxant plate. Biocompatible and flexible materials, such as TPU or specific resins for dentistry, are ideal for this type of application.
8. Tips to improve model quality
8.1. surface refinement
To obtain a smoother and more comfortable surface on the muscle relaxer plate, use the “Smooth” tool frequently during modeling. Also, adjust the 3D printing settings to ensure good resolution and finish.
8.2. error checking
Before exporting the 3D model, use Meshmixer to check the geometry of the muscle relaxer plate for errors. The “Analysis” > “Inspector” tool helps identify and correct problems that may compromise print quality.
9. Conclusion
Creating a custom muscle relaxant plate in Autodesk Meshmixer is a simple and efficient process. With the right tools and a little practice, you can create high-quality orthodontic appliances to treat common dental problems like bruxism and TMJ.
10. Frequently Asked Questions
1. Is Autodesk Meshmixer free?
Yes, Autodesk Meshmixer is free software for personal and professional use.
2. Can I create other dental devices in Meshmixer?
Yes, the Meshmixer is versatile and can be used to create a variety of dental devices such as dentures, crowns and implants.
3. What are the minimum requirements to run Meshmixer?
Requirements vary depending on the operating system. See the official Autodesk website for detailed information on minimum and recommended requirements.
4. What material is recommended for printing myorelaxing plates?
Biocompatible and flexible materials, such as TPU or specific resins for dentistry, are ideal for printing myorelaxing plates.
5. How can I check the 3D model for errors before printing?
Use the “Analysis” > “Inspector” tool in Meshmixer to identify and correct problems with the geometry of the muscle relaxer plate before exporting the model for printing.